Building the studio
This is the story on how the current recording studio was built.
By ALEX DIERICKX
@ JEDDRAUDIO RECORDING STUDIO
The story began somewhere during the late nineties of the previous century. My band got signed to a record label and we got to visit a real recording studio for the first time. In that days it meant staring at a 48 channel analogue console with a million knobs on it and fighting ADAT recorders that were refusing service. But I was sold!
Fast forward to the modern age, I was operating my studio from spare bedrooms and rented “project” locations. That model reached its limit and that’s why we decided to move houses and build a dedicated recording facility from the ground up.
Jeddraudio is a recording studio.
These are my services.
The basics: mass, mass &... mass
When building a studio, you have 1 major concern. Noise! You don’t want it to enter the studio, hence ruining that perfect take of the ultimate guitar solo. Nor do you want it to leave the studio in order to keep the neighbours happy.
That could mean only one thing: thick concrete floors, walls and ceilings.
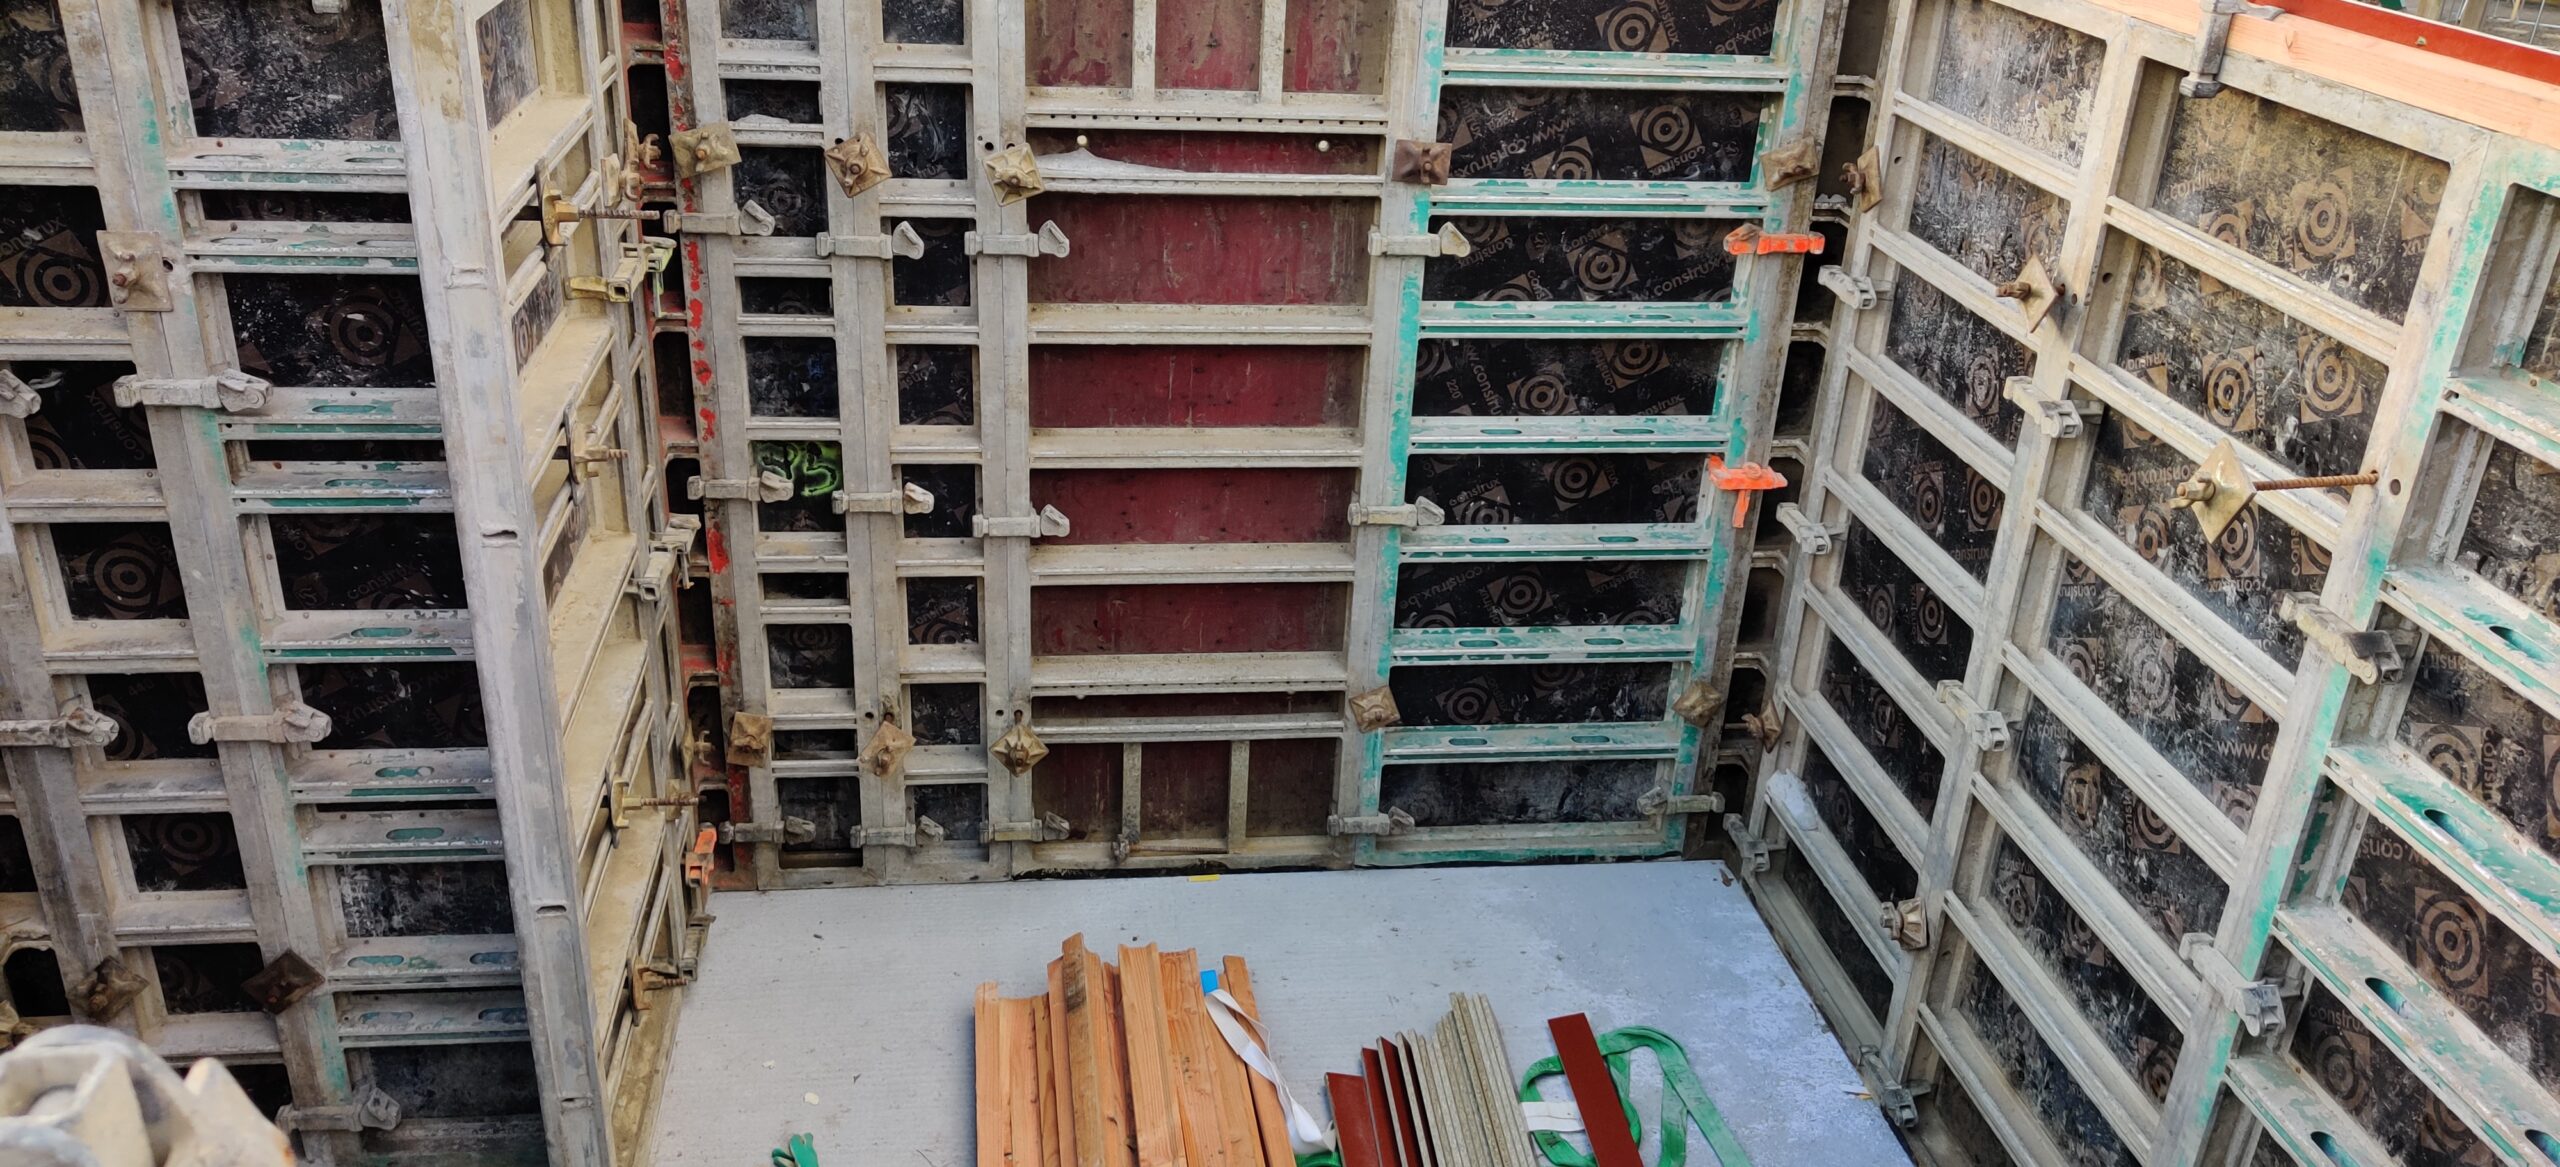


This is the part I contracted out. Building the place myself with concrete blocks was too time consuming to be a real option, so I went for a construction based on liquid poured concrete. 2 weeks after construction began, the outer structure of the studio was ready.
“Before you move forward, make a plan. Triple check, ask advice and plan again. You don’t want to make any mistake at this point, no matter how small, not to render your investment useless.”
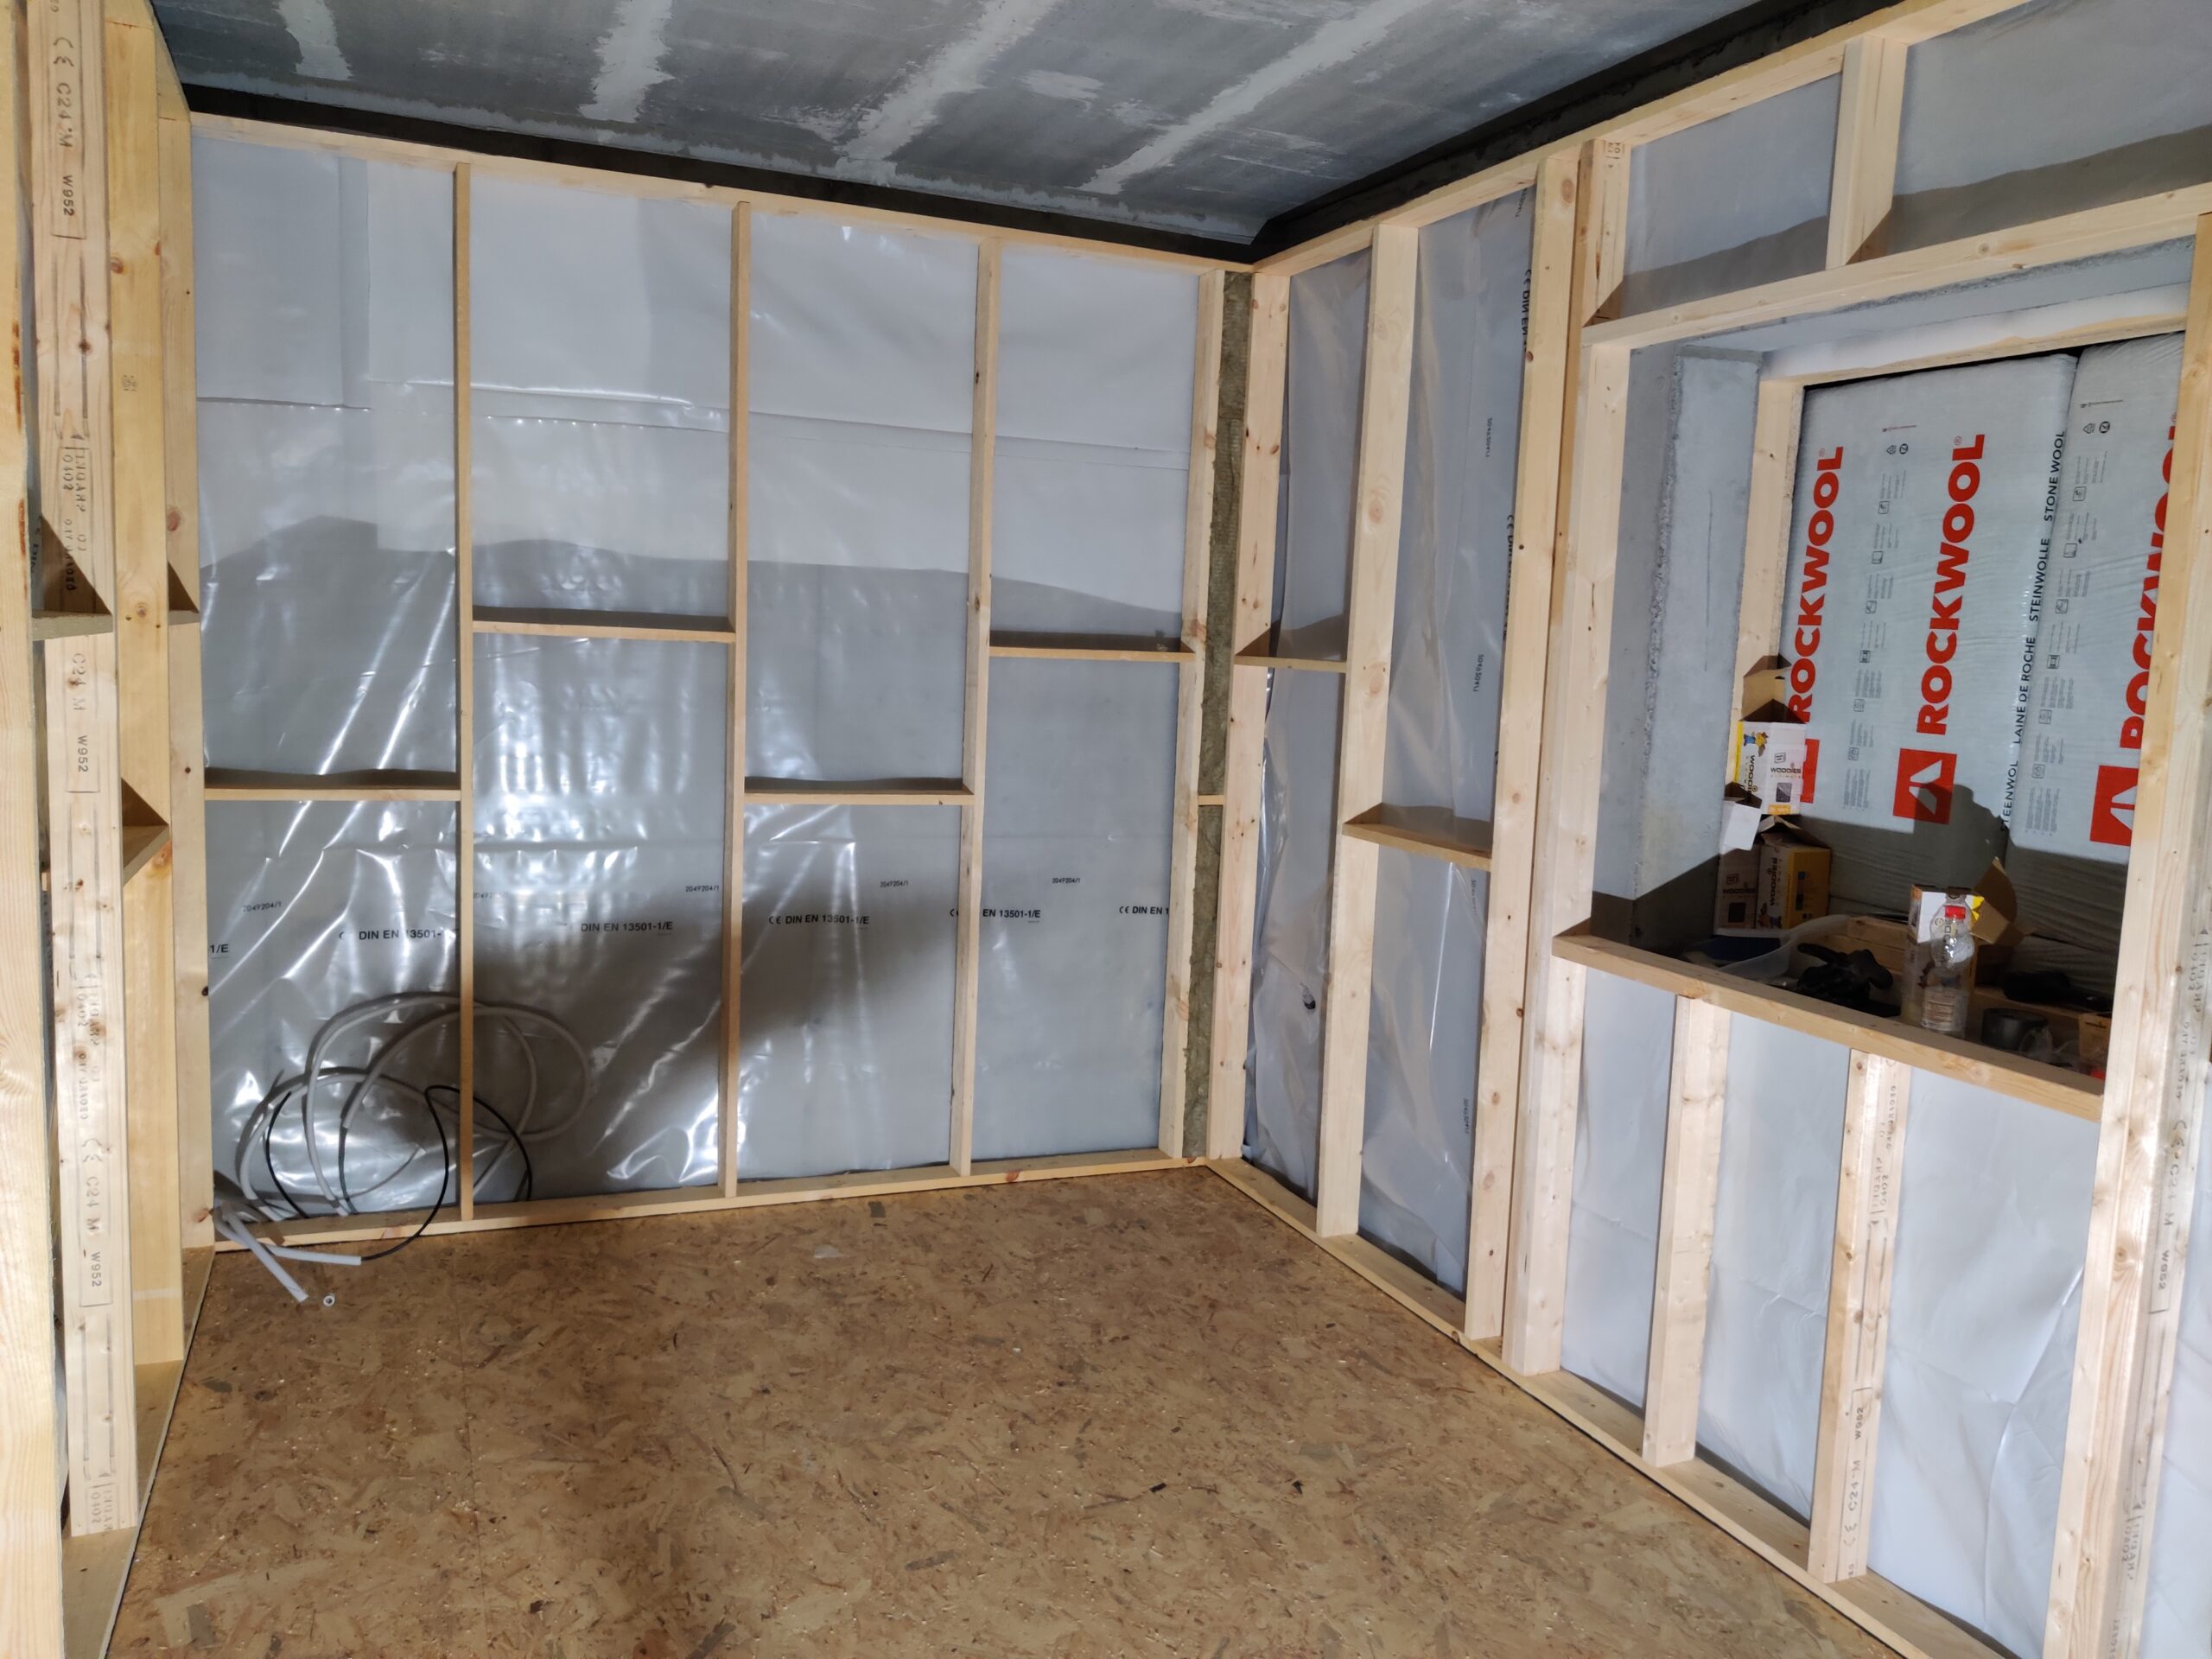
There's never just one: the box-in-a-box
Having the outer part of the construction done, it was time to start on the inside. Classical box-in-a-box, where the inner shell has no contact with the outer in any way.
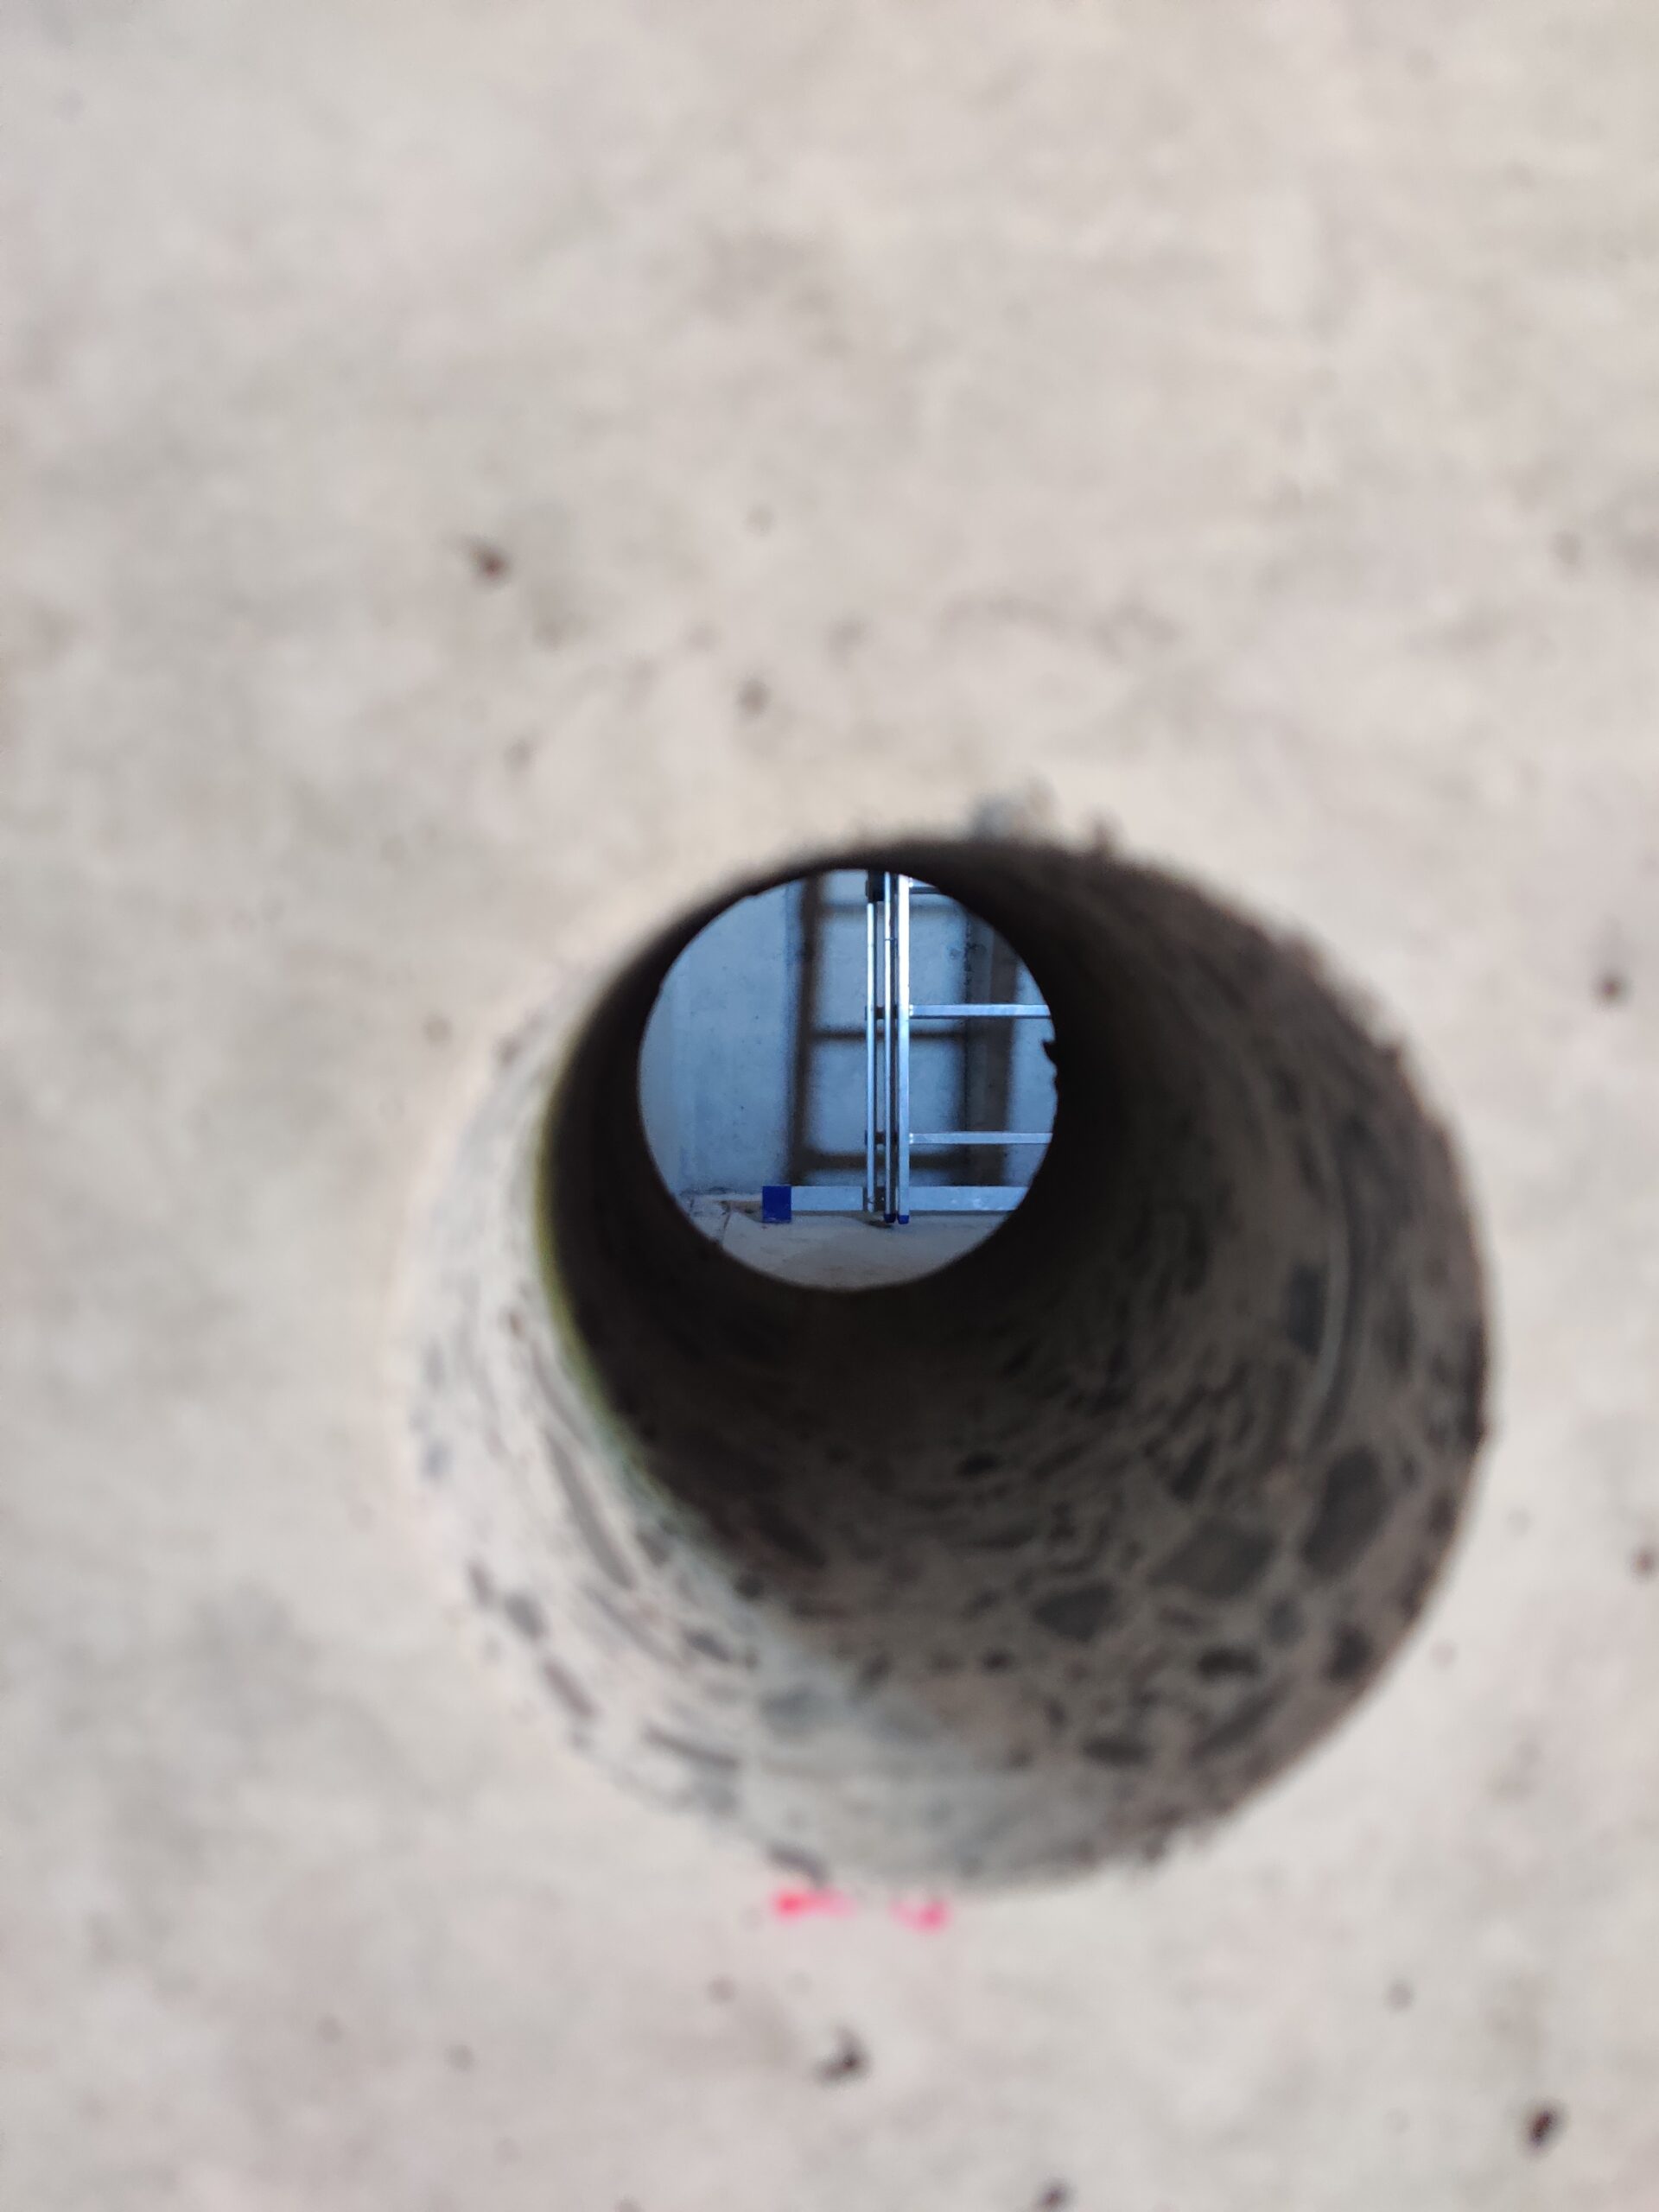
This is also the time to start drilling some holes through the concrete for your ventilation system and the multicore cabling! You do not want to be doing this after the box-in-a-box is done.
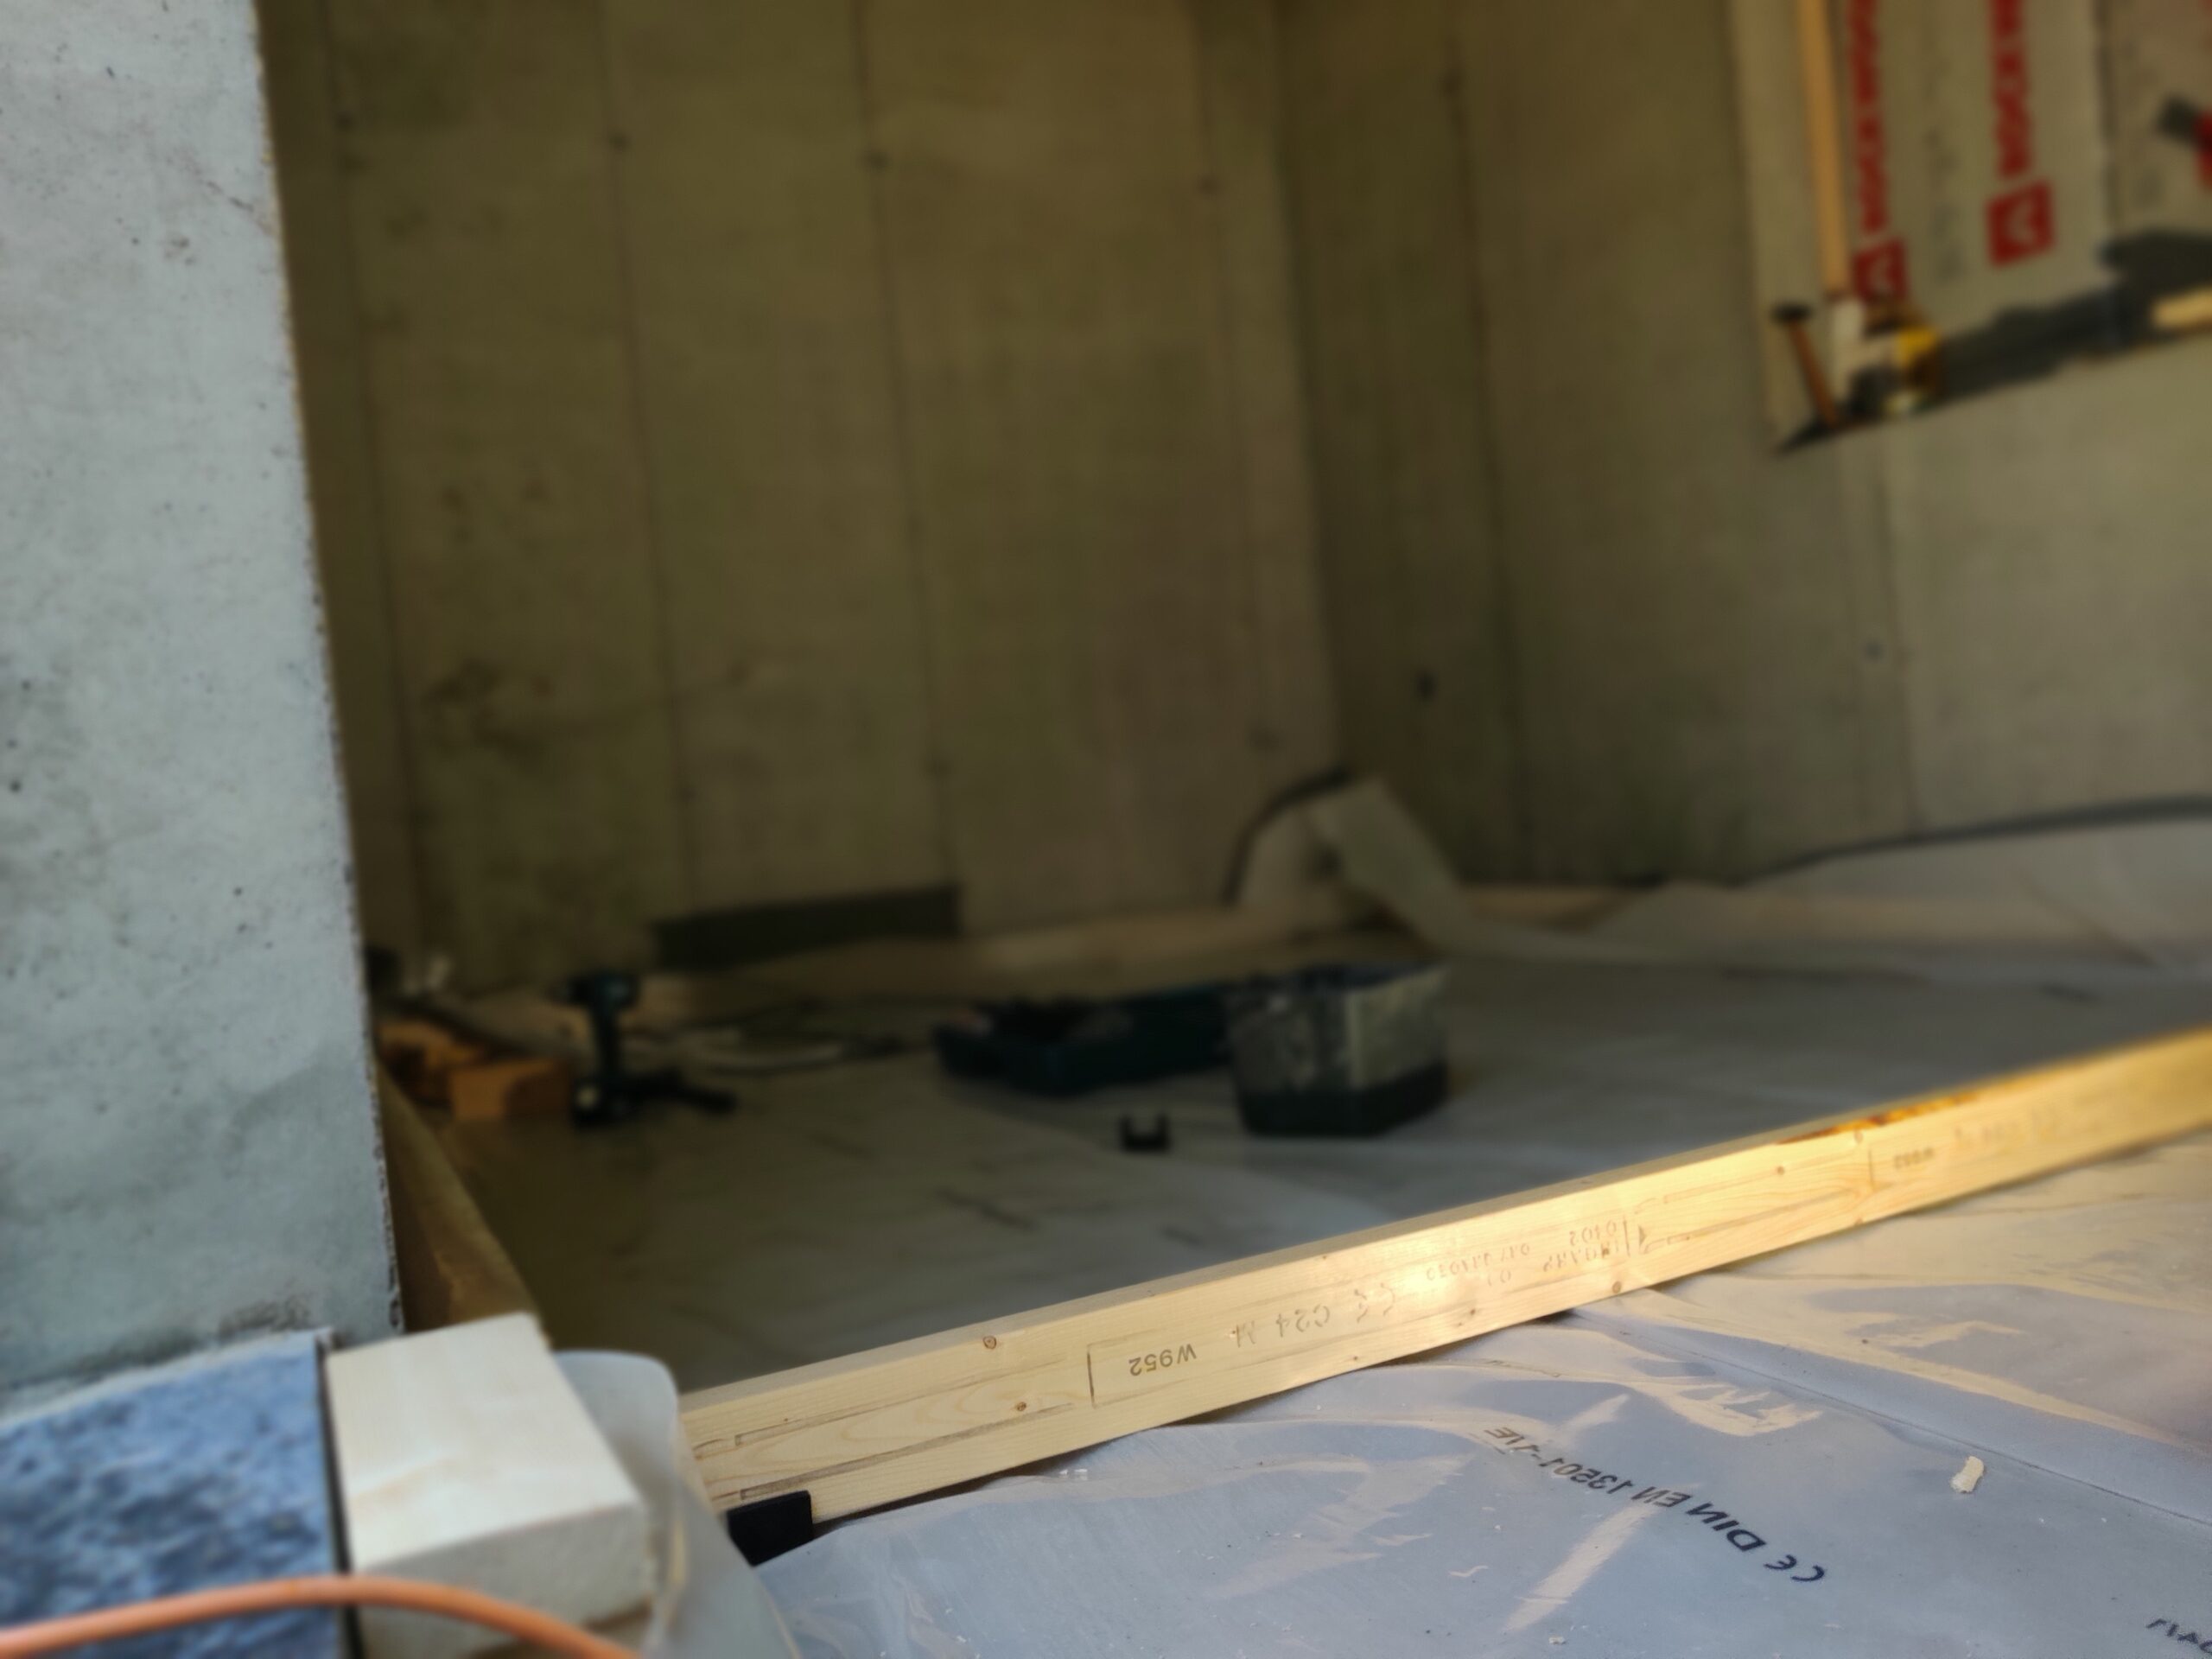
The materials used for this box were:
- Wooden beams of 38mm thick to build the frame
- Oriented strand board (osb), 22mm for floors, walls and ceiling
- Auralex U-Boat floor floaters to decouple the inner floor from the outer
- Rubber bands with 5mm thickness to decouple walls from the floor and the ceiling from the walls
- Rockwool RockSono Solid (45 kg/m3) isolation, 10cm
- Dampening screens


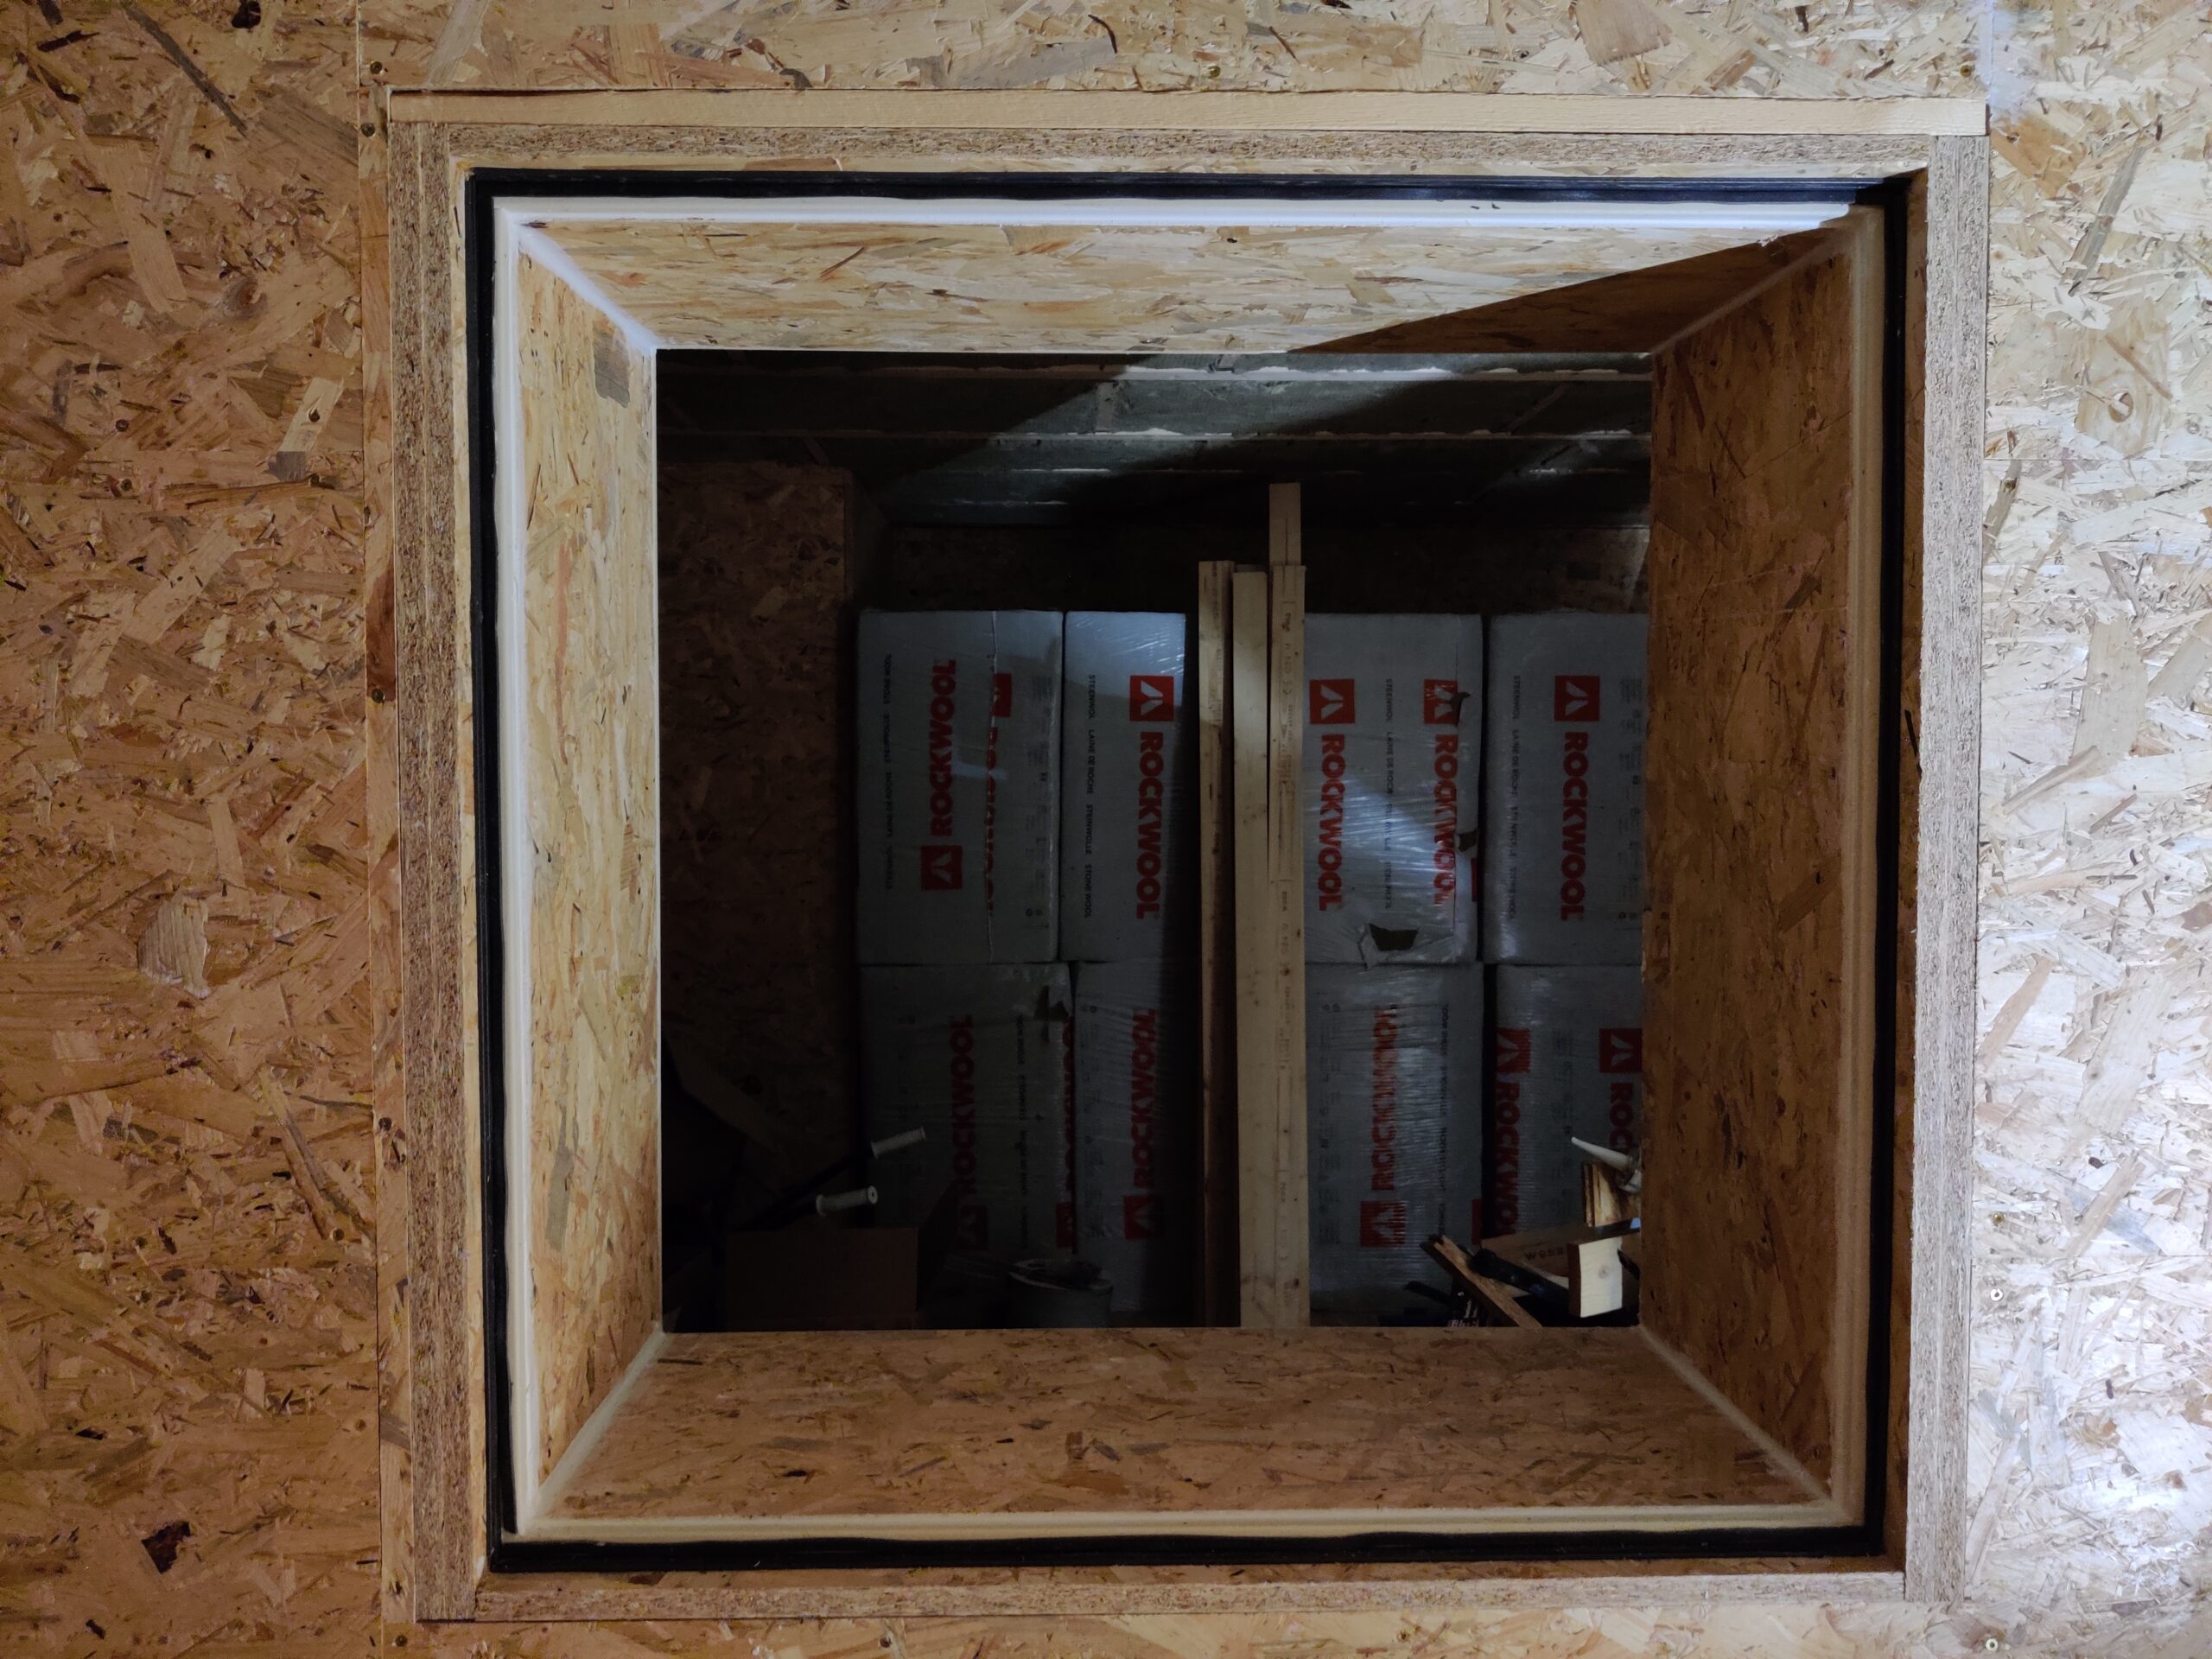
Doors and windows freaked me out
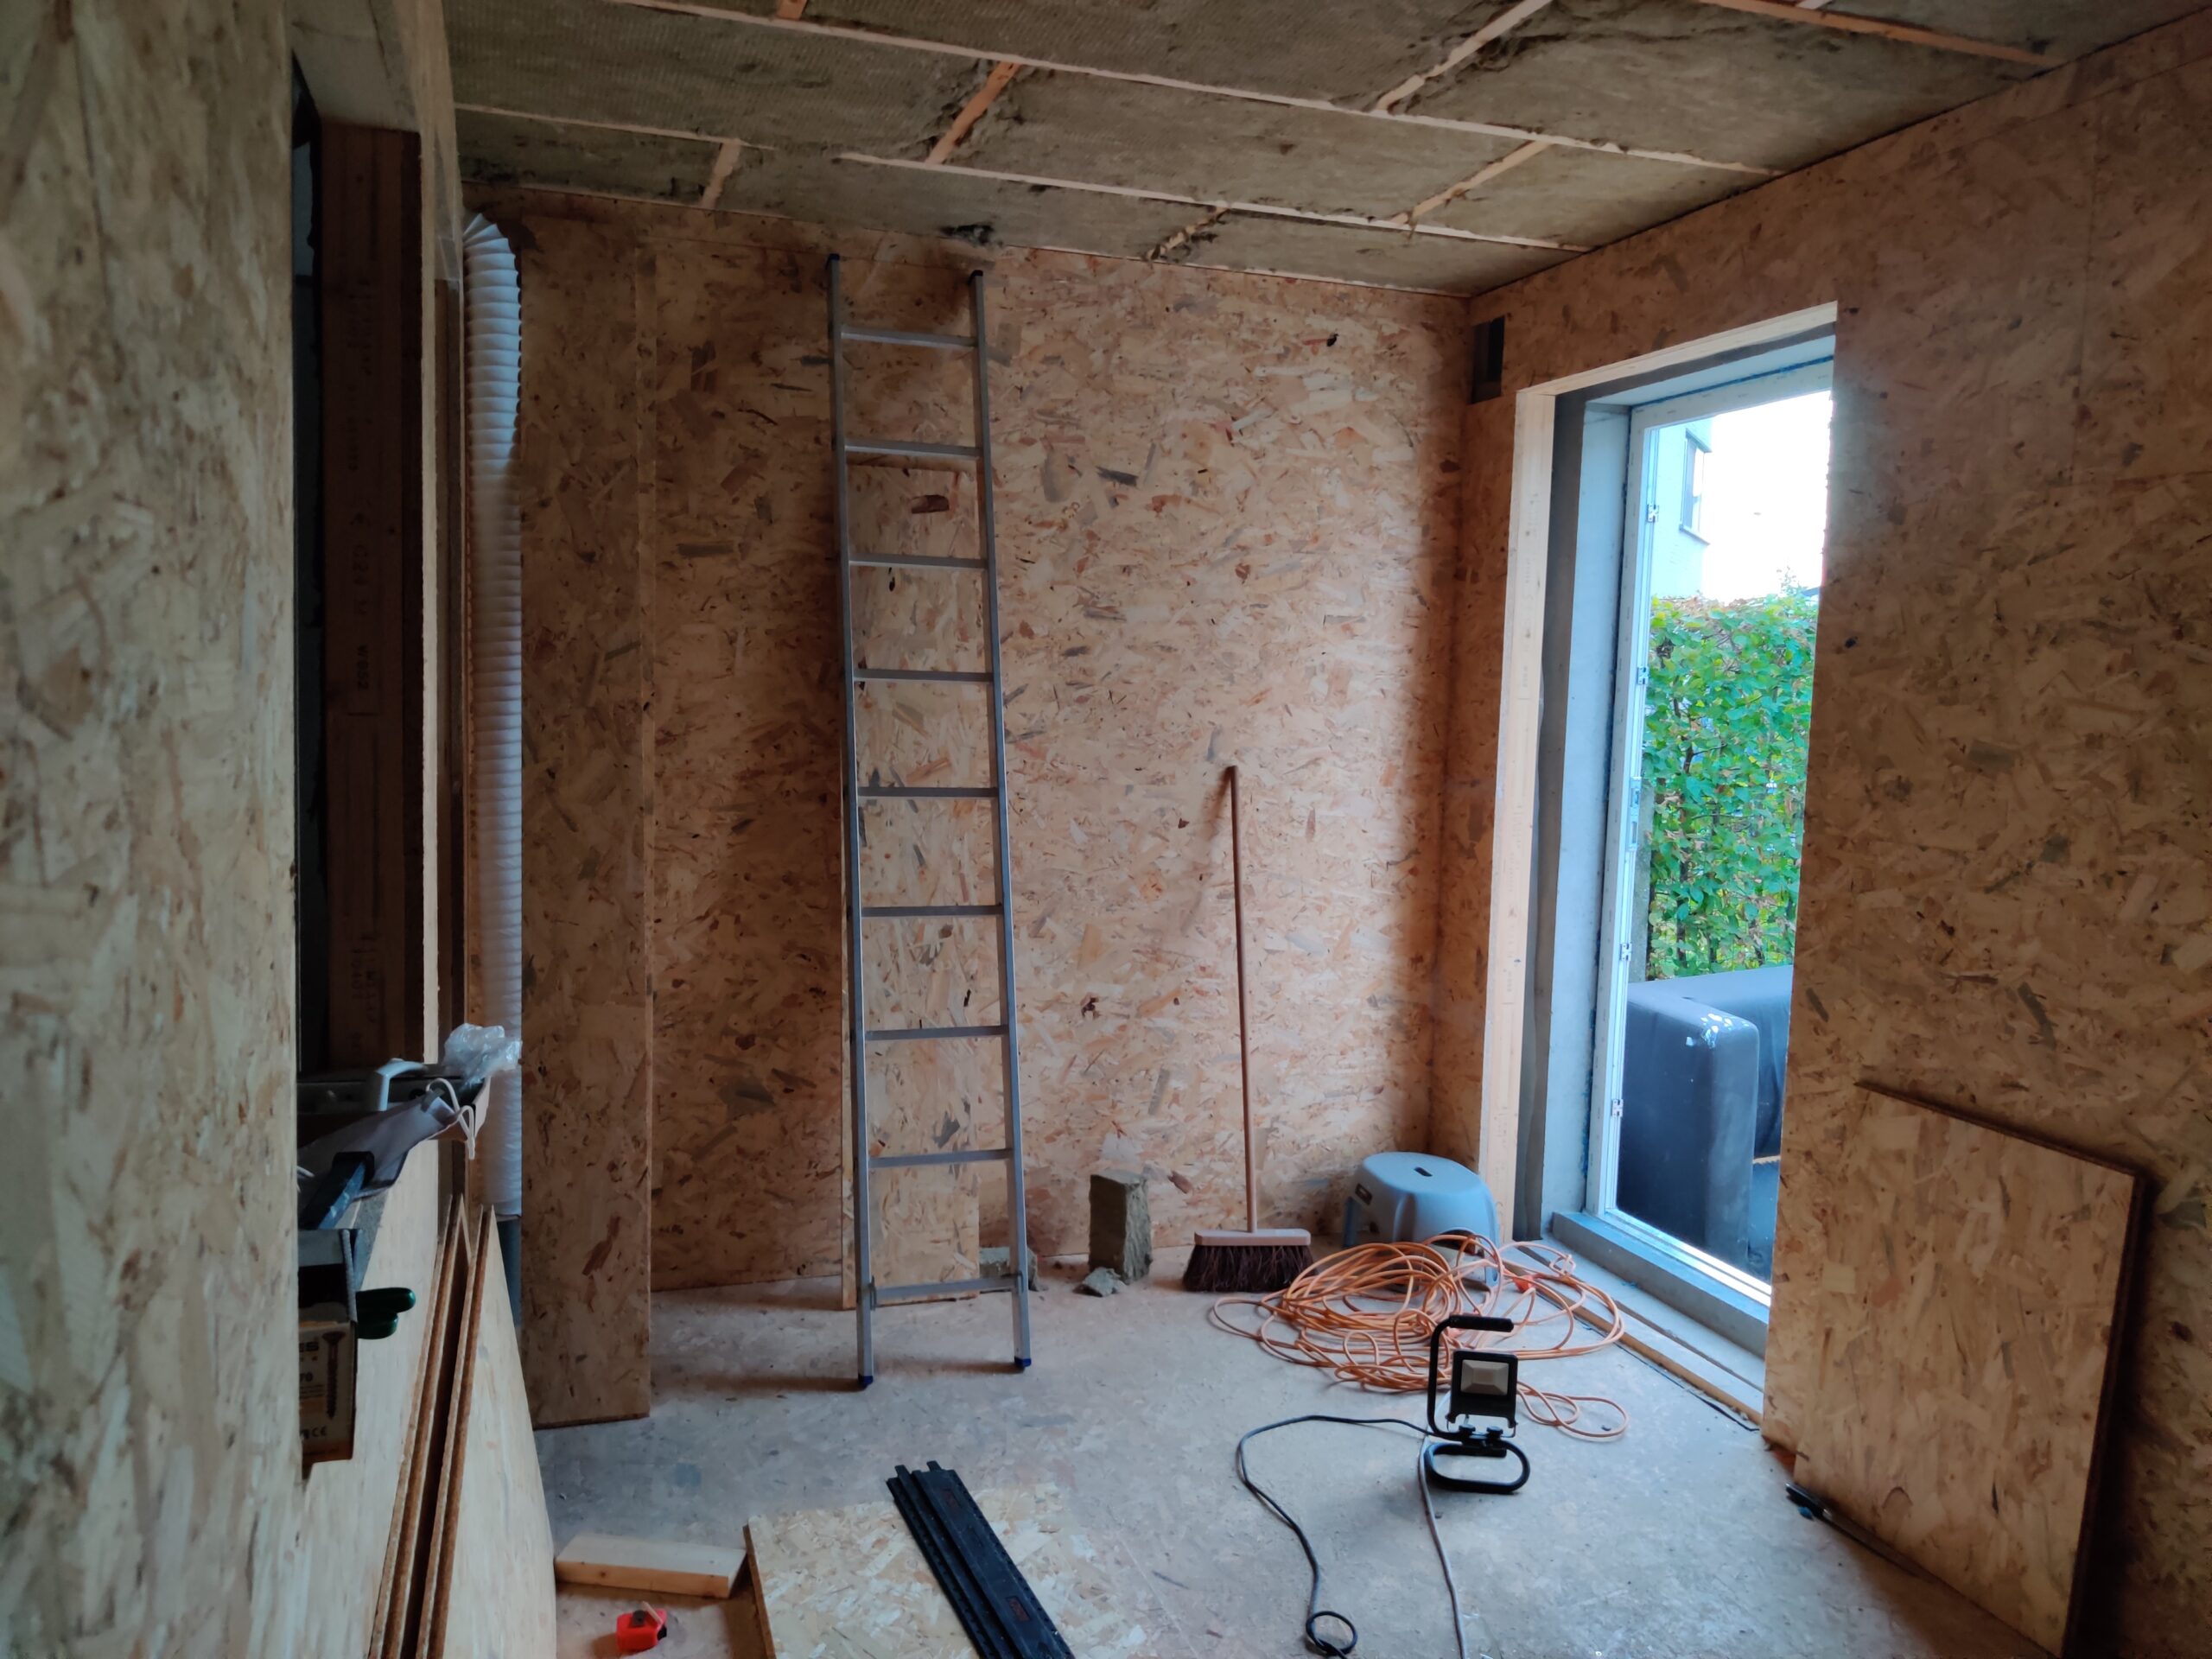
The woodwork for the base of the inner box went surprisingly well. I kinda yelled at the ceiling a bit to much, though. But since I had to do it on my own (thank you lockdown!), I’m not complaining. In the end, it’s just a matter of precise measuring, making sure your fingers never get anywhere near the miter saw and have a decent screwdriver at hand.
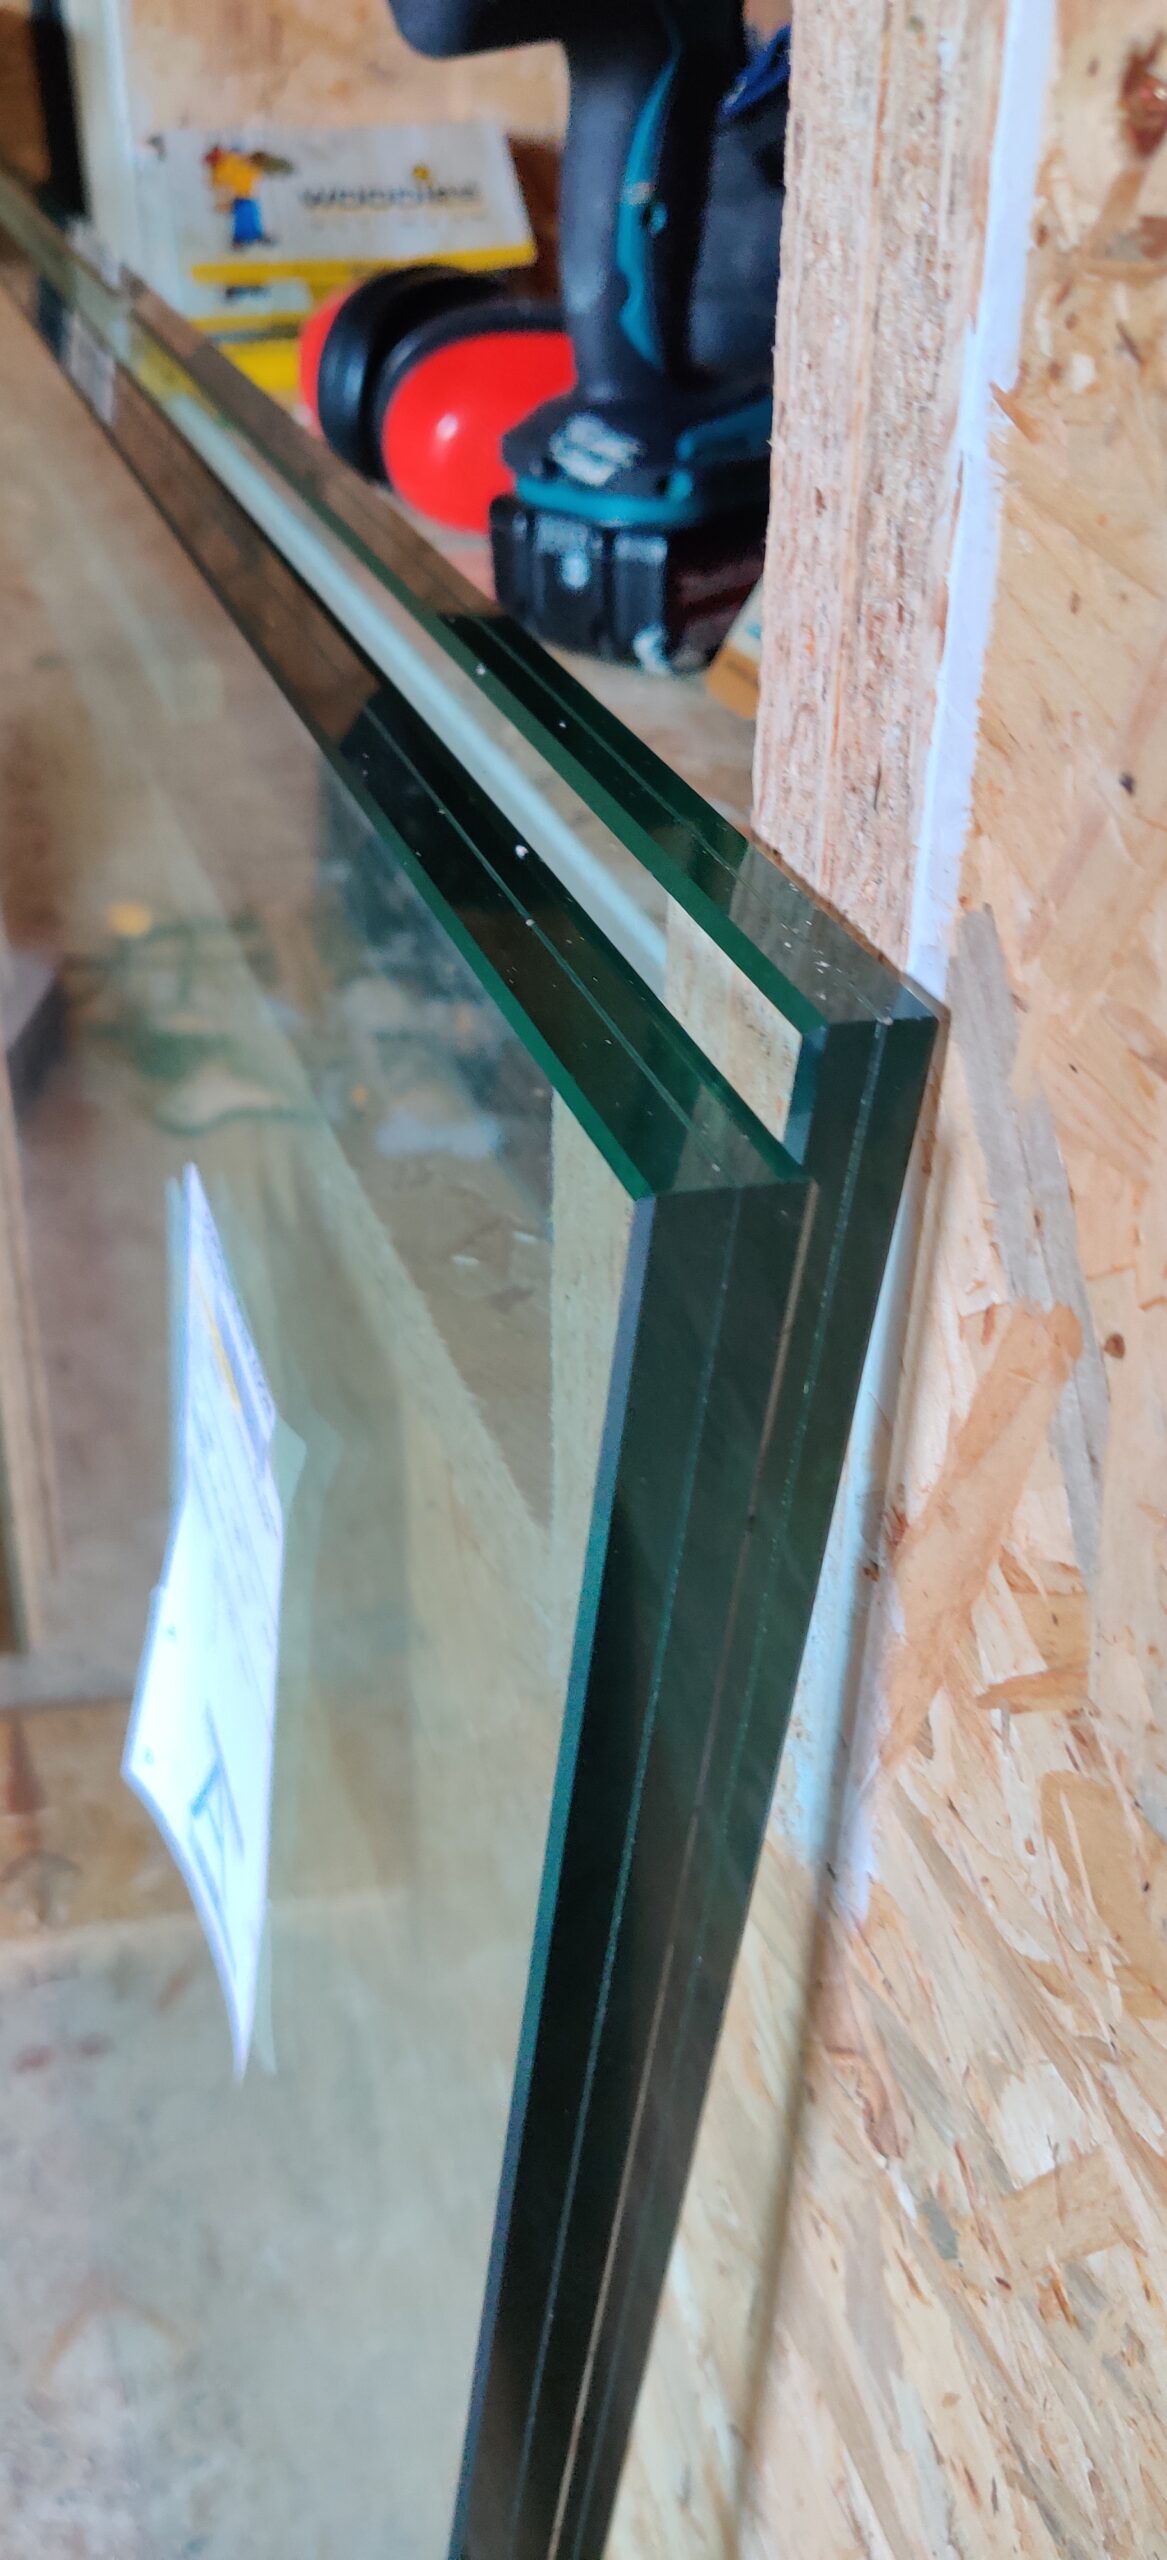
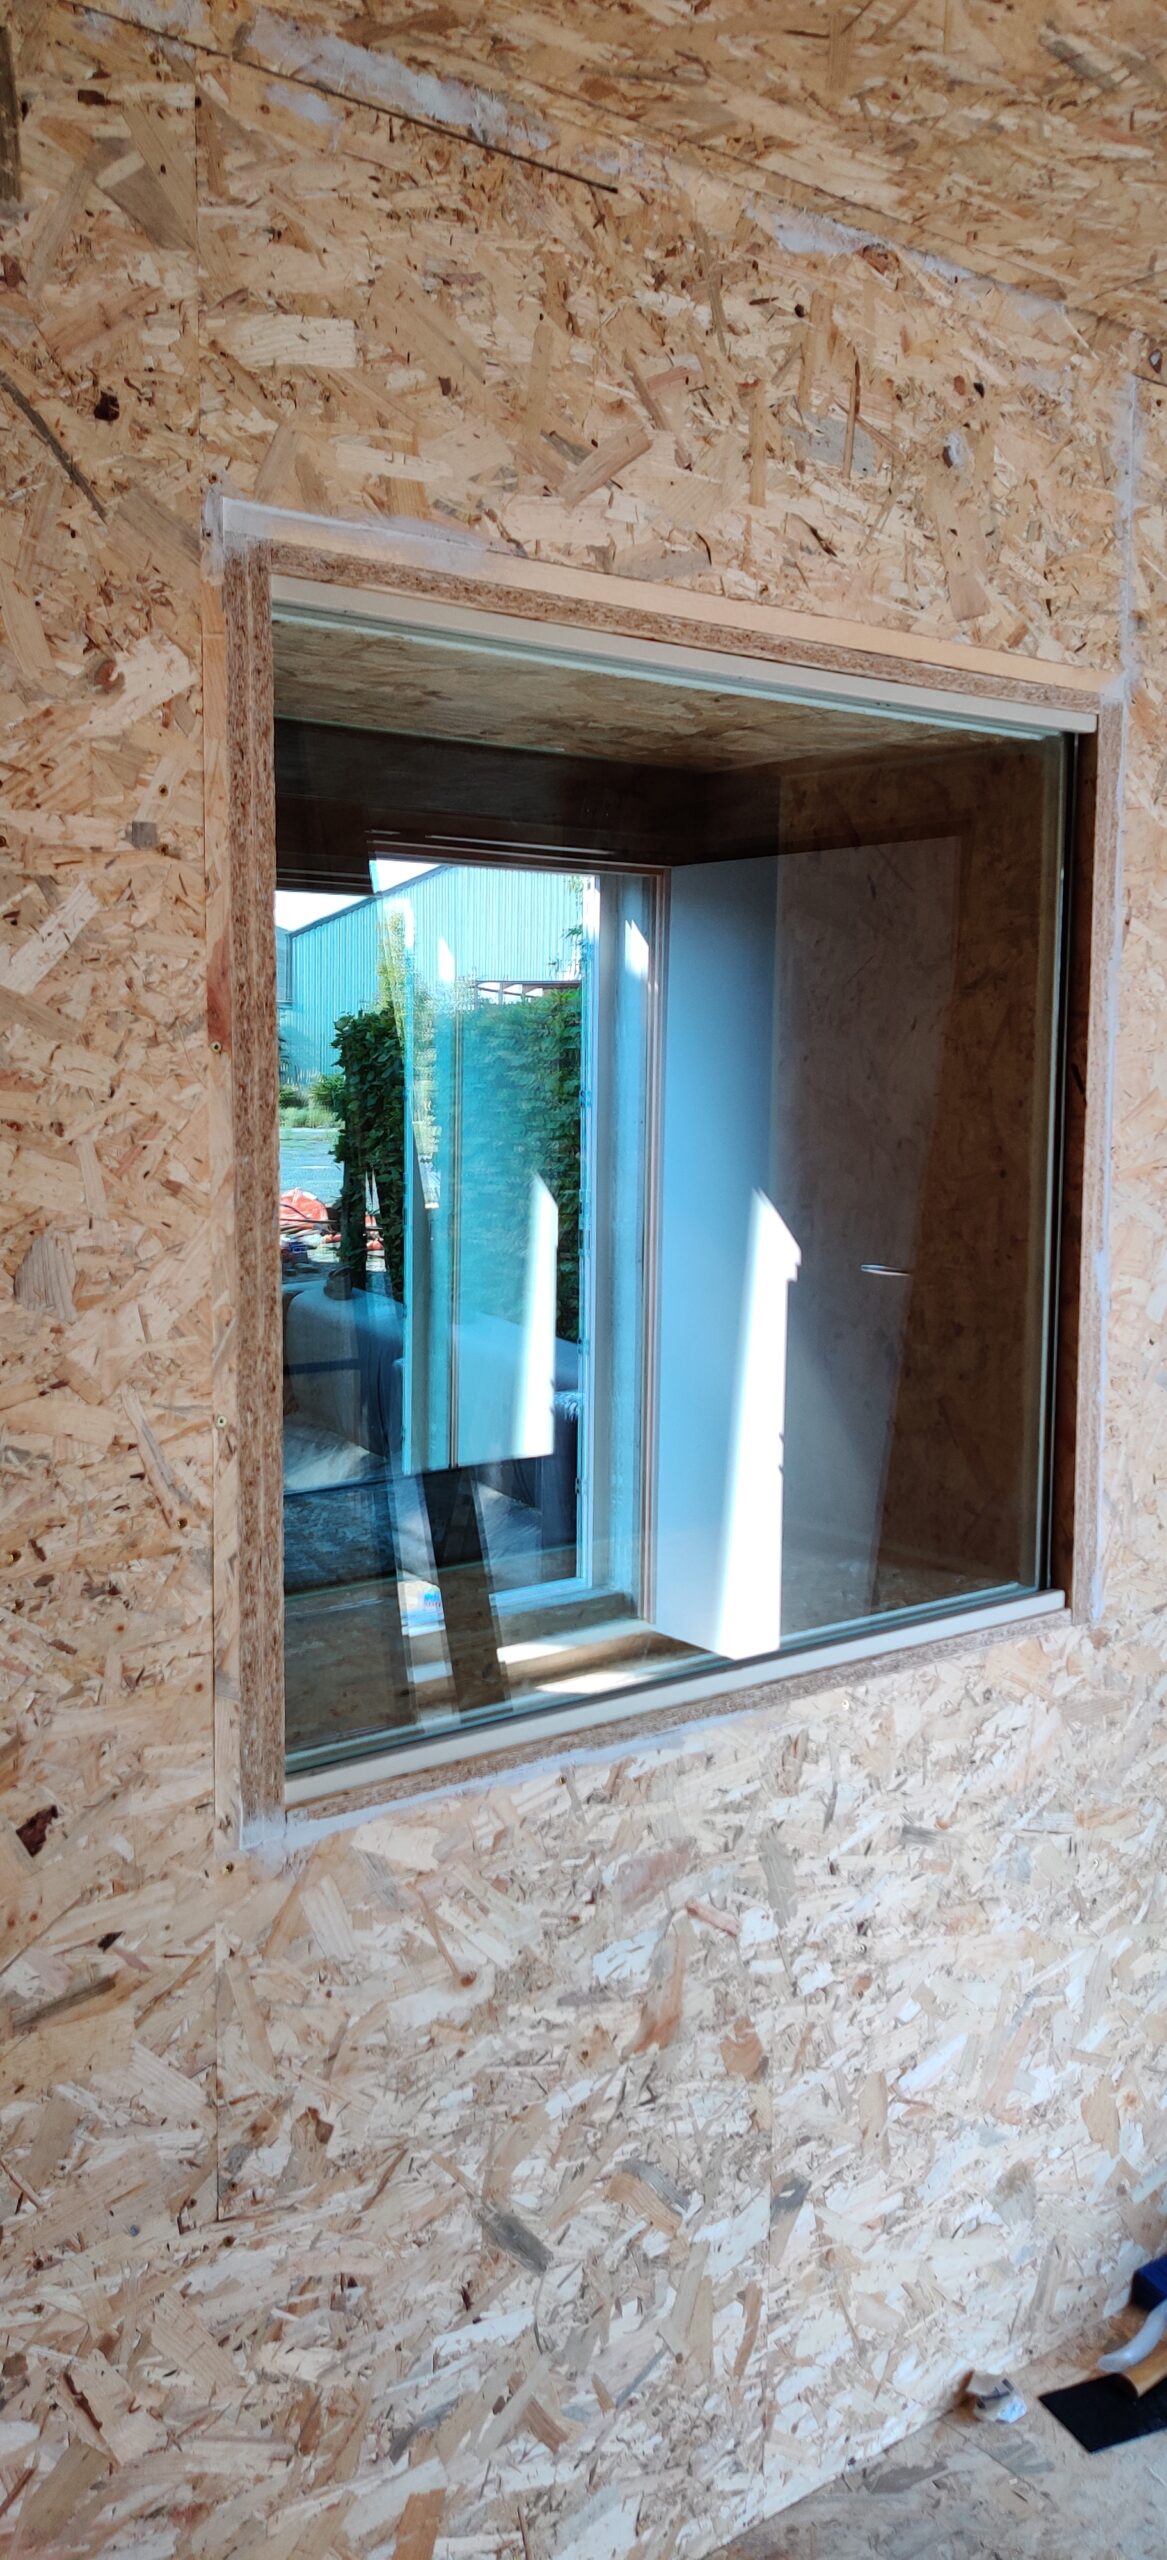
It was time to move on to the part that I feared most: doors and windows. These are infamous for being the spots where you get sound leaks. Measuring the openings took me 5 days. Different vendors gave me different instructions on how to measure. The internet, as usual, wasn’t to helpful with all the contradicting information it holds. Eventually I took the plunge, picked the method that seemed the most logical and ordered an outer door (PVC with 7 air chambres for optimal sound isolation), 3 inner doors (full wood) and 2 sheets of single ply laminated glass (14/14 and 12/12).
What I didn’t take into account however, is how long it takes suppliers to deliver. Especially the doors took like 12 weeks!
When the goods finally arrived, I had to get help from a more experienced friend (and the rest of my band, thanks guy’s!) to help me install the doors. I just wasn’t confident enough to do it myself. But we succeeded!


Finishing up, kinda...
Well, quite frankly, I don’t think it’s ever going to be really done. Everytime I finish something, there are 3 more ideas popping up. But I reached the point where we are open for business and that was the whole point.
Before getting the gear, desk and instruments in, the electrics and the security systems were installed. Bass traps and broadband absorbers were put in both the control room and the live room and that was about it.